First Use Walkthrough
Congratulations on installing Rephlo! Let's execute your first AI command to see it in action. We will perform a simple Text Summarization task.
Prerequisites:
- Rephlo is running (check the system tray on Windows/Linux, or the menu bar on macOS).
- On macOS, confirm that Accessibility and Screen Recording permissions have been granted (see Installation & Setup).
- A provider is configured. Running a command sends a request to an AI model, so you need either the managed Dedicated API (sign in) or a BYOK provider / Ollama set up. If you chose "Skip for now" during setup, open Settings > LLM Providers first. See Installation & Setup.
Step 1: Prepare Some Text
Open a text editor, web browser, or any application. Type or paste a paragraph of text. For example:
"The quick brown fox jumps over the lazy dog. This sentence uses every letter of the alphabet and is commonly used for touch-typing practice. Foxes are known for their cleverness, while dogs are known for loyalty."
Step 2: Select the Text
Highlight the text you just wrote using your mouse or keyboard (Cmd+A on macOS, Ctrl+A on Windows/Linux to select all).
Step 3: Trigger Rephlo
There are three ways to activate Rephlo on the selected text:
-
Option A (Global Hotkey): Press the default context-menu overlay hotkey for your platform:
Platform Context Menu Overlay Hotkey macOS Shift+Cmd+CWindows Ctrl+Shift+Alt+CLinux Ctrl+Shift+Alt+C -
Option B (Tray Icon): Left-click the Rephlo icon in the system tray (Windows/Linux) or menu bar (macOS) to open the app.
-
Option C (Drag-Select): Hold the configured modifier key while drag-selecting text to open the overlay immediately. By default this modifier is already set to
Cmdon macOS andCtrlon Windows/Linux. You can change it in Settings > Hotkeys.
An overlay appears near your cursor, showing your selected text as "Active".
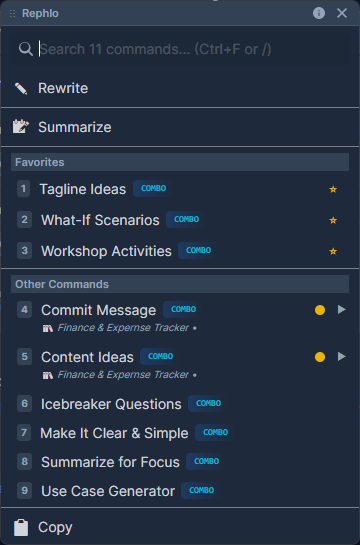
The overlay opens near your cursor. At the top it shows the active selection (e.g. Active: "The quick brown..."), then a search box, then a scrollable list of matching commands (for example Summarize, Fix Grammar, Make Professional, Translate). Type to filter, then pick a command.
Step 4: Run a Command
- In the Rephlo overlay, browse the Commands list (your favorites and gallery commands appear here).
- Find a command named "Summarize" or "Fix Grammar", or type "Summarize" in the search bar to filter.
- Click the command card or press Enter.
Where do commands come from? Commands like Summarize and Fix Grammar are typically installed from the Template Gallery or web Command Gallery, or created by you. If your list is empty, install a few from the gallery or build one with the AI Command Builder.
Step 5: View Results
Rephlo processes the text and streams the output into the result view.
- Result example: "A sentence about a fox and a dog is used for typing practice, highlighting their respective traits of cleverness and loyalty."
- Actions: From the result you can Copy to your clipboard, Insert the result back into your application (replacing the original selection), Retry the command, or Edit Input and re-run.
Hosted (Dedicated API) note: When you run commands through the managed Dedicated API, requests stream over a secure connection. If a response ever appears cut off, retry the command—usage is metered on the full response.
Step 6: First Command Success Guide
After your very first successful command, Rephlo shows a one-time Command Success Guide dialog. It teaches the drag-select workflow so you can trigger commands even faster.
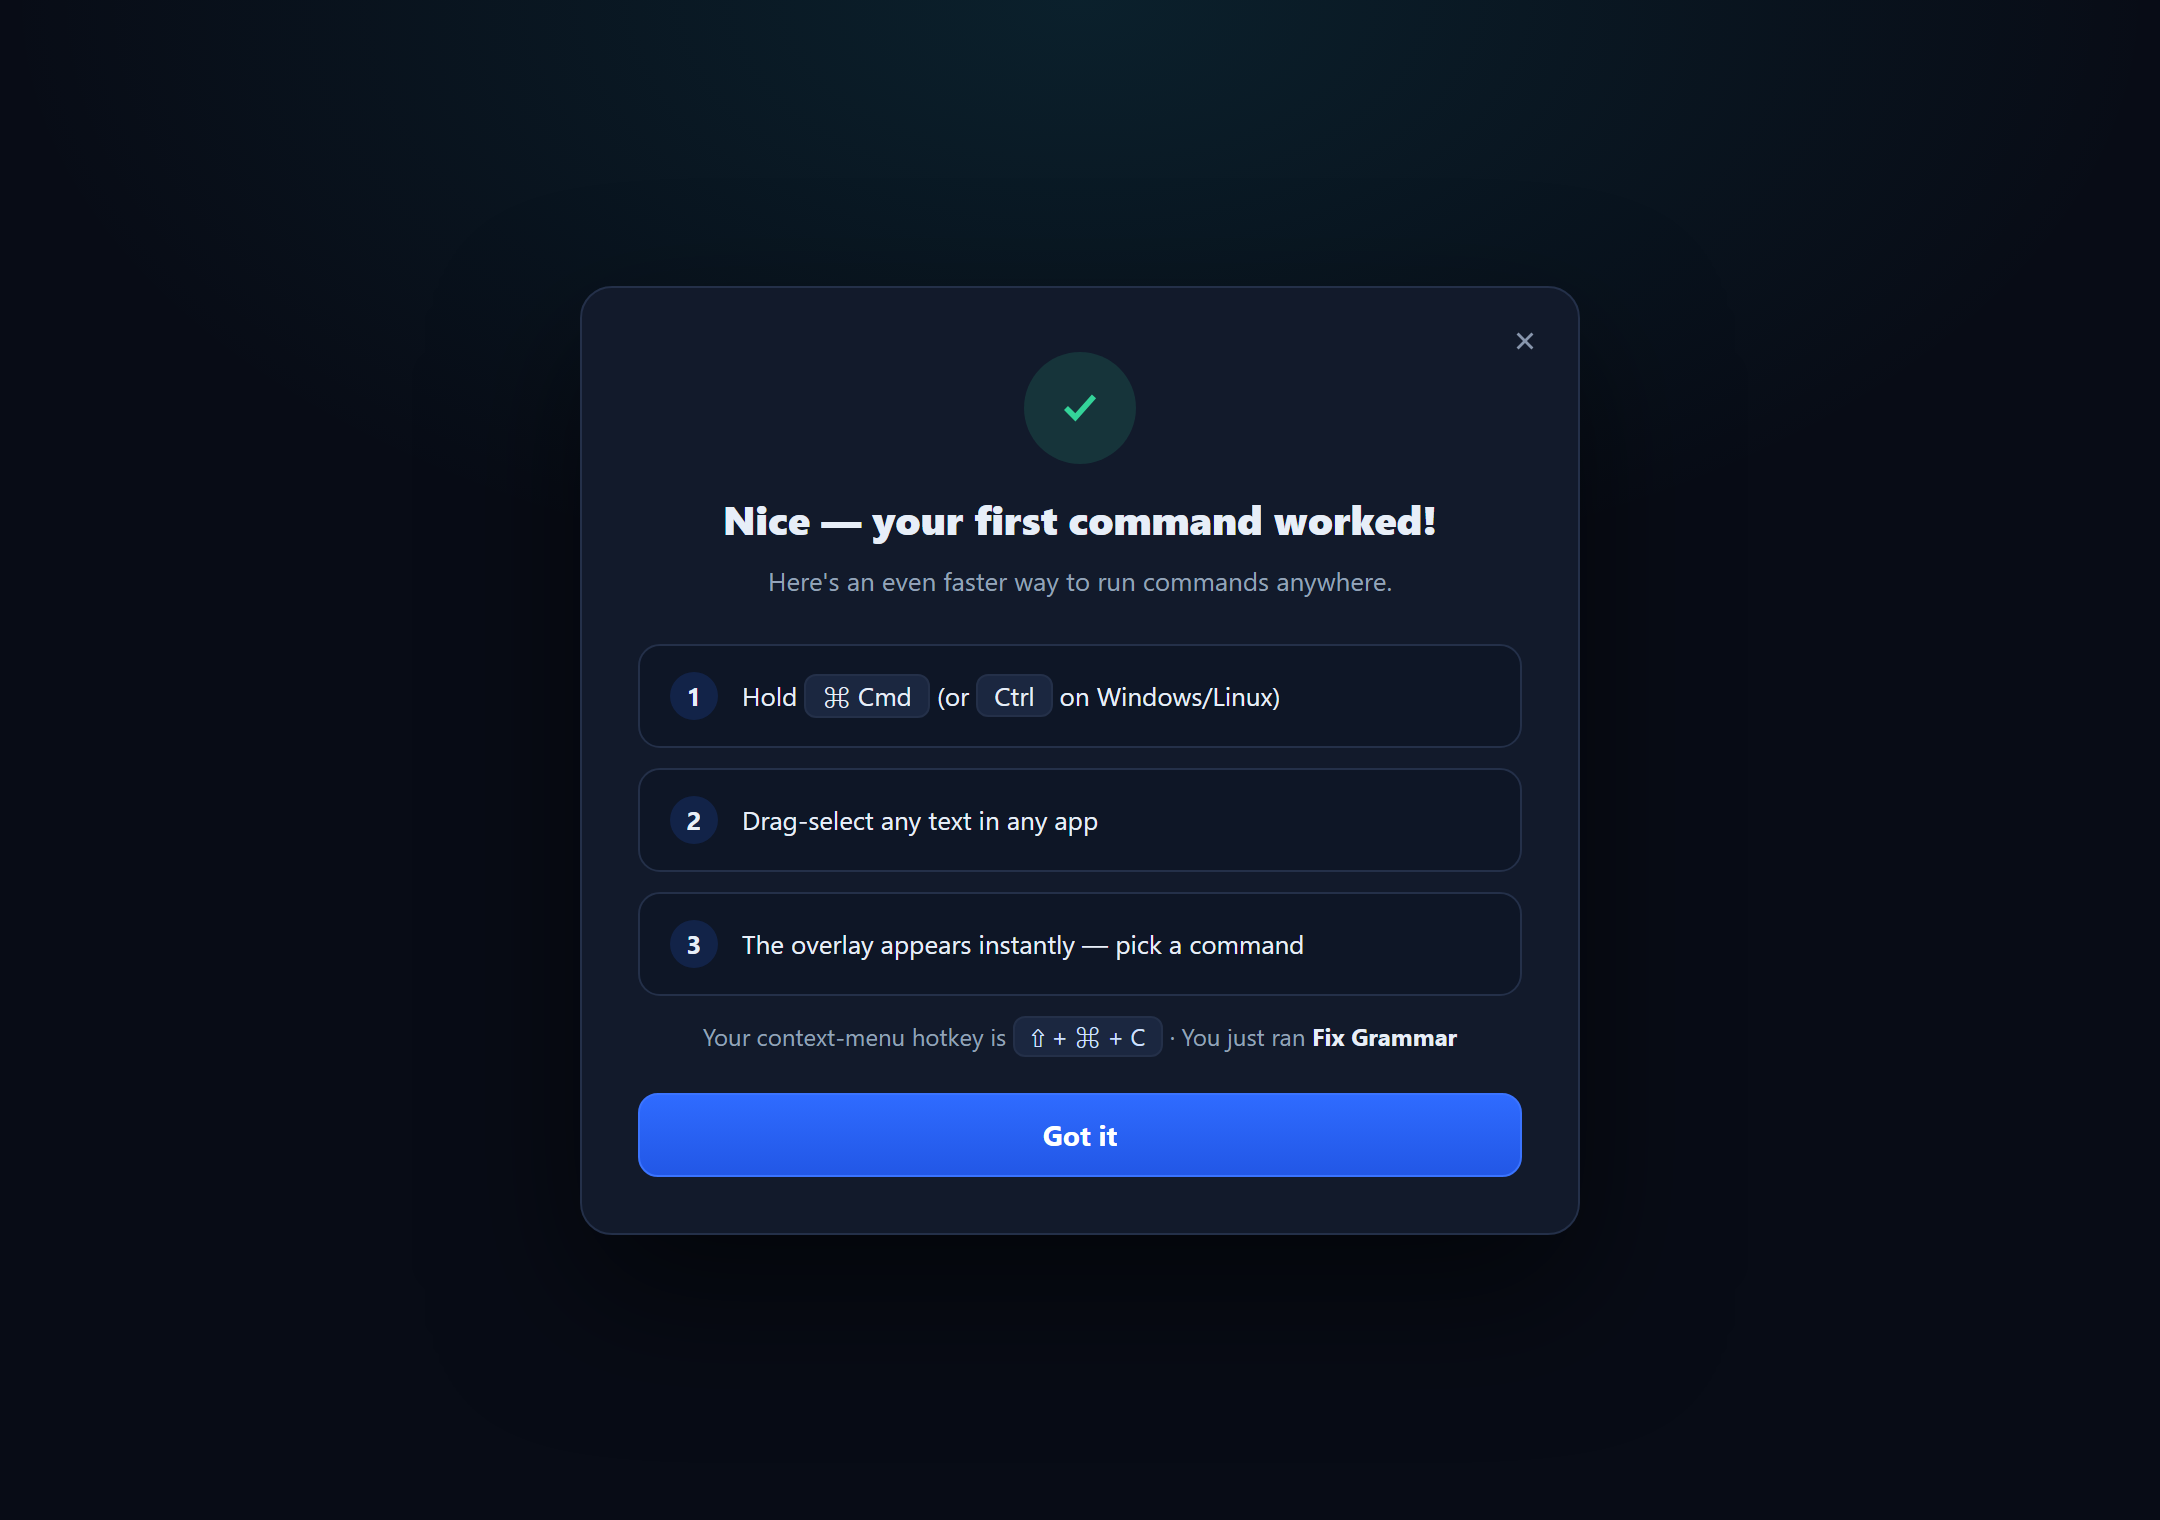
The dialog congratulates you and walks through the faster drag-select flow: hold the modifier key (shown as ⌘ Cmd on macOS or Ctrl on Windows/Linux), drag-select any text in any app, and the overlay appears instantly. It also displays your current context-menu hotkey (e.g. ⇧ + ⌘ + C) and the name of the command you just ran. A close button dismisses it.
This dialog appears only once. You can revisit the drag-select settings anytime in Settings > Hotkeys.
Success!
You have just completed your first AI workflow with Rephlo.
Quick Reference: Default Hotkeys
| Action | macOS | Windows / Linux |
|---|---|---|
| Context Menu Overlay | Shift+Cmd+C | Ctrl+Shift+Alt+C |
| Screenshot Capture | Shift+Cmd+S | Ctrl+Shift+Alt+S |
| Drag-Select Modifier | Cmd | Ctrl |
| Zoom In | Cmd + + | Ctrl + + |
| Zoom Out | Cmd + - | Ctrl + - |
| Reset Zoom | Cmd+0 | Ctrl+0 |
All hotkeys are fully customizable in Settings > Hotkeys.
What's Next?
- Learn about Commands to build your own tools.
- Explore Spaces to work with your own documents.
- Try Chat & Conversations for multi-turn, history-backed conversations.
- Understand how the desktop app and web platform fit together in How Desktop & Web Work Together.