Import & Export
Rephlo lets you back up, share, and migrate your data per entity type — commands, spaces, providers, and history. This is essential for preserving your work, sharing with teammates, or moving to a new computer.
Want to move everything at once in a single archive? Use Global Import & Export instead. To publish a command to the online gallery and install it from the web, see Cloud Sync & Versioning and Web Install & Deep Links.
Each entity type uses the format that fits it best: JSON for commands, ZIP for spaces and providers (they carry files or encrypted secrets), and CSV for history.
Command Import/Export
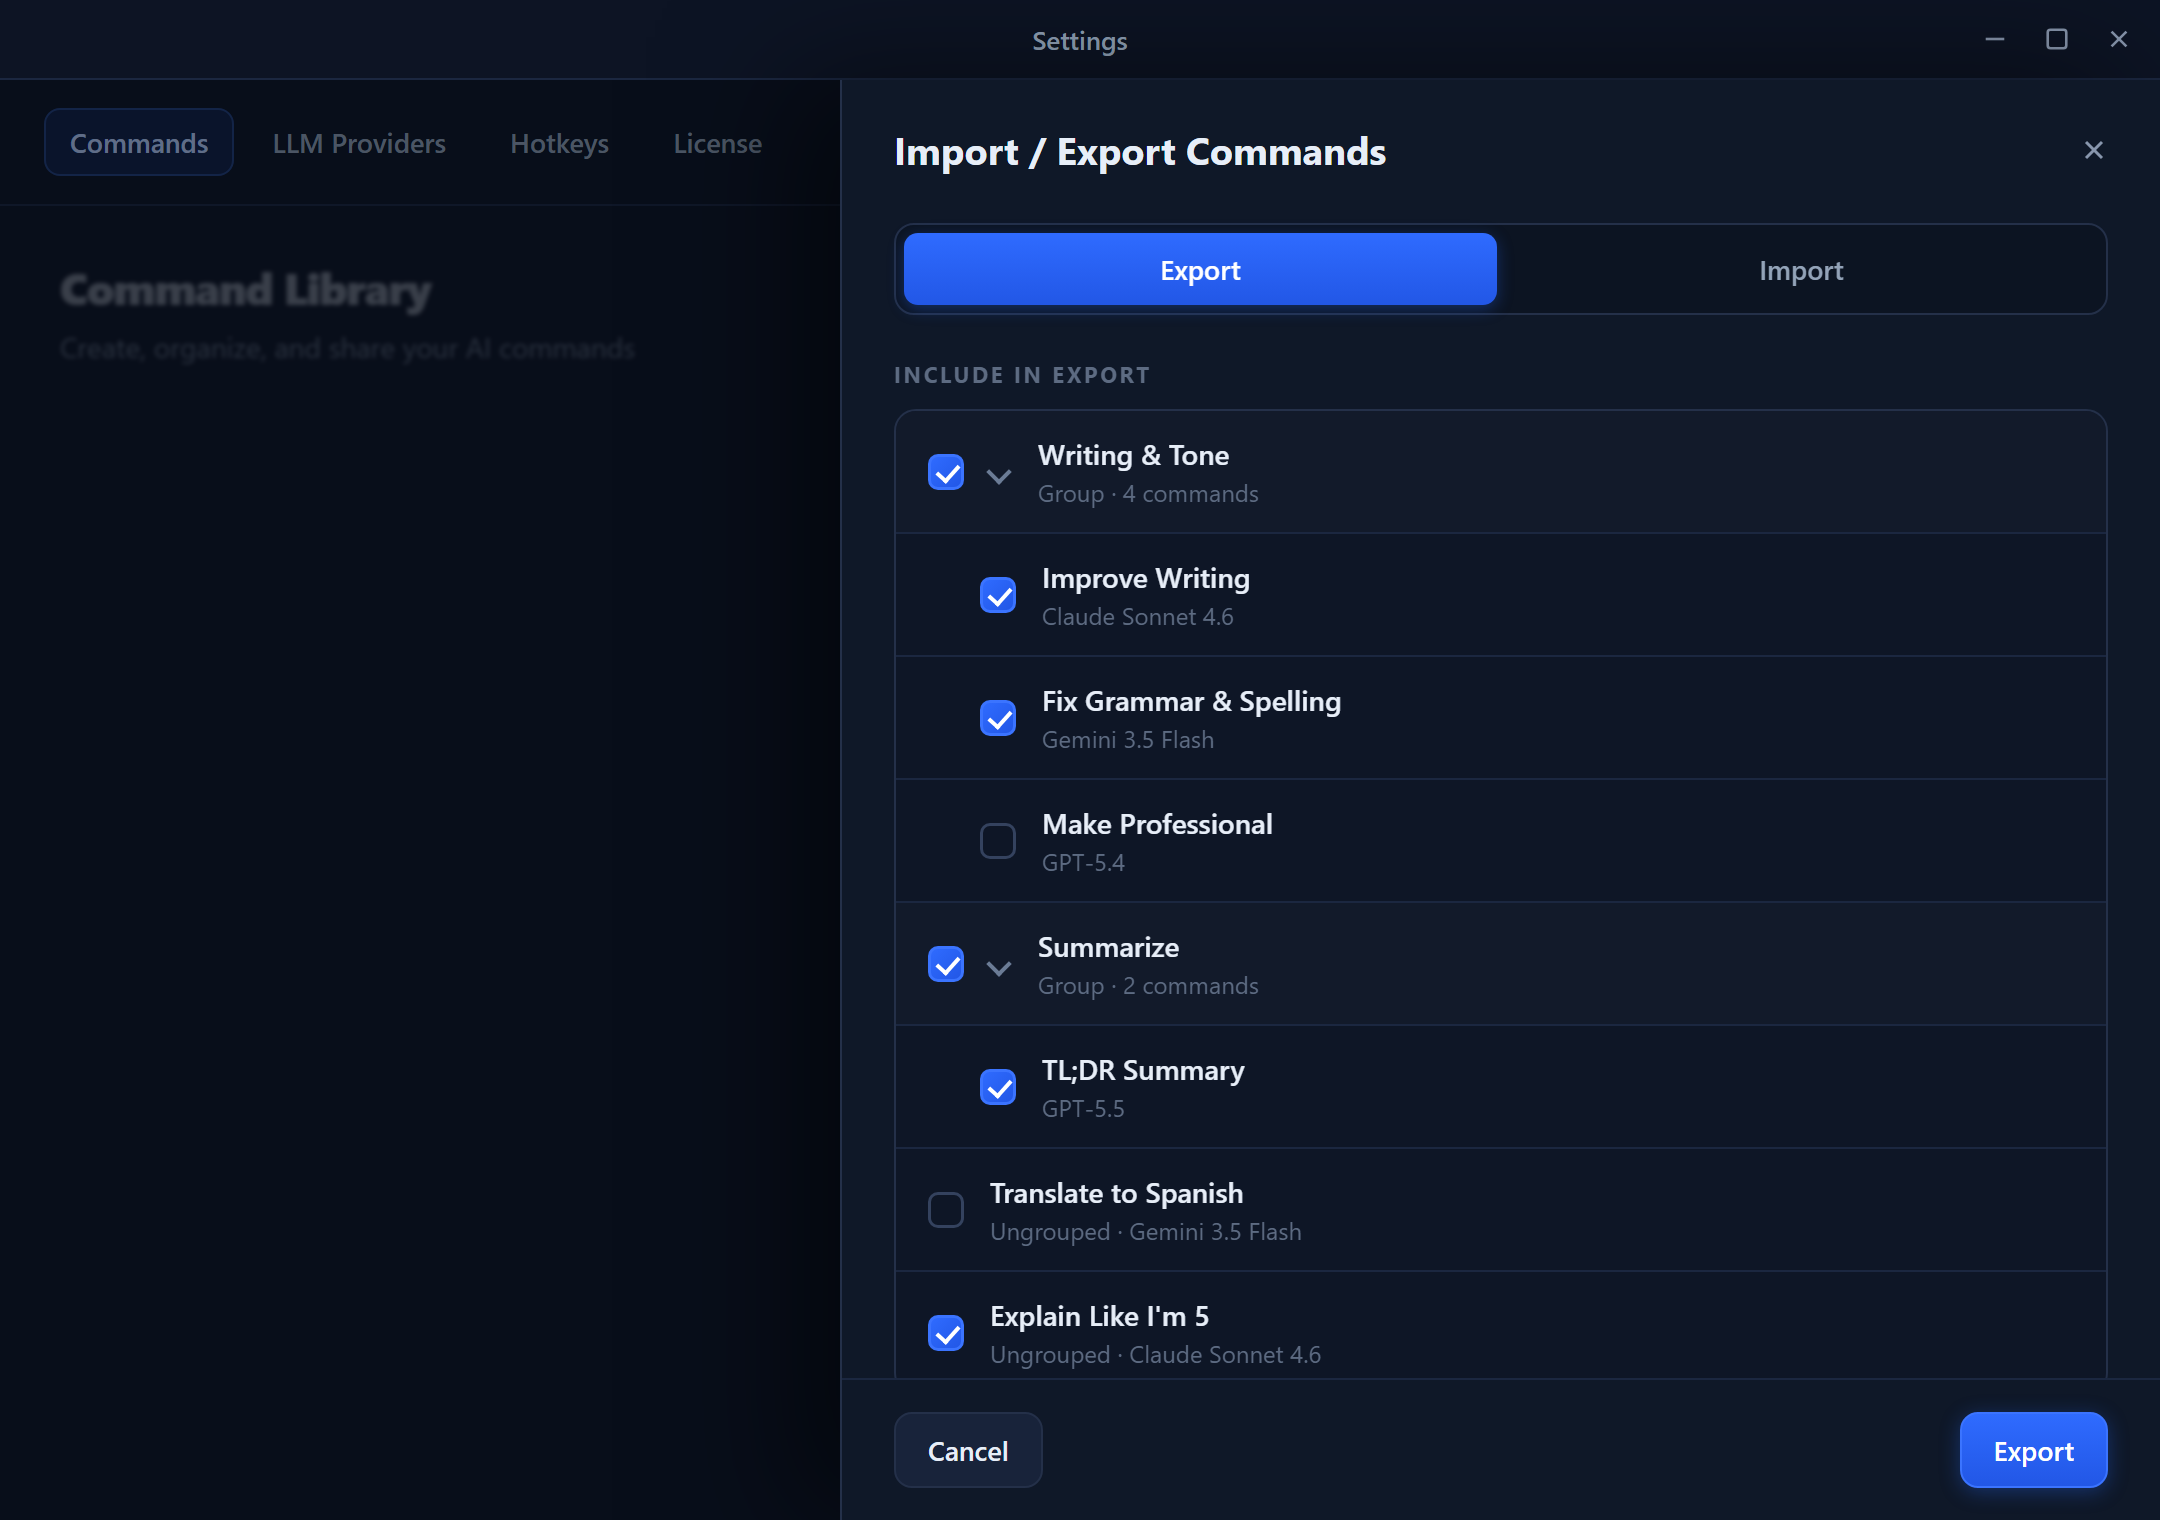
Commands export as JSON files — portable and easy to share.
What Gets Exported
Each command in the JSON includes:
| Property | Description |
|---|---|
| Name | The command's display name |
| Description | What the command does |
| Instruction | The AI prompt/instructions |
| Execution mode | Combination, Standalone, or Template |
| Favorite | Whether it's marked as a favorite |
| Fixed content to append | Text appended to the output at copy time |
| Hide from quick-access menu | Whether it's hidden from the quick-access overlay |
| Group name | The command group it belongs to (the group is recreated on import if missing) |
| Archived state | Whether it was archived, and when |
| Linked Spaces | Names of Spaces linked to the command (the M:N links are restored on import) |
| Default Space | The command's default Space, restored if present |
Archived commands are included in an "Export All", so a backup captures your full library — active and archived alike.
Exporting Commands
From the File menu
- Go to File > Export Commands.
- Choose Export Selected or Export All.
- Pick a location and filename.
- Save as
.json.
From the Commands view
- Open Commands.
- (Optional) Select specific commands using checkboxes.
- Open the Export/Import dropdown in the toolbar.
- Choose Export Selected or Export All.
The Commands toolbar holds New Command, AI Builder, a Search box, and an Export/Import dropdown. The dropdown offers Export Selected, Export All, and Import Commands.
Importing Commands
- Go to File > Import Commands (or use the Commands toolbar dropdown).
- Select a
.jsonfile of exported commands. - Review the import preview.
- Click Import.
Conflict handling — if a command with the same name already exists, you choose how to resolve it:
| Option | Behavior |
|---|---|
| Skip | Keep your existing command; don't import the conflicting one |
| Replace | Overwrite your existing command with the imported version |
| Duplicate | Import as a new command renamed with an (Imported) suffix |
On import, commands are validated (name ≤ 100 chars, instruction 10–10,000 chars, description ≤ 500 chars, fixed-content-append ≤ 5,000 chars). Imported commands show a NEW badge until you first edit or run them, and their groups and Space links are recreated automatically.
Space Import/Export
Spaces export as ZIP packages because they bundle both metadata and the extracted file contents.
What Gets Exported
A Space export includes:
| Component | Description |
|---|---|
| Space metadata | Name, description, emoji icon, color, token budget |
| Space items | All files and text blocks in the Space |
| File contents | The extracted text from each document |
| Token counts | Raw and compact token usage per item |
| Data mode | Whether items are stored raw or compacted |
See Spaces and Smart Compaction & Data Modes for what these fields mean.
Exporting Spaces
- Open Spaces.
- (Optional) Select specific Spaces.
- Open the Export/Import dropdown in the toolbar.
- Choose Export Selected or Export All.
- Save as
.zip.
Importing Spaces
- Open the Export/Import dropdown in the Spaces toolbar.
- Choose Import Spaces.
- Select the
.zipfile. - Review the Spaces and files to be imported.
- Click Import.
Conflict handling — same options as commands: Skip, Replace, or Duplicate (imported as a new Space).
Provider Import/Export
LLM provider configurations export as ZIP packages so encrypted secrets travel safely.
What Gets Exported
- Provider type, display name, model(s), capabilities, and model parameters.
- API keys stay encrypted in the archive — they are never written in plain text.
- The provider that was active at export time is recorded so it can be reactivated after import.
Gateway (Dedicated API) providers are skipped. They're provisioned automatically when you sign in, so there's nothing to export or import for them.
Importing Providers
- Open the provider Export/Import option.
- Select the
.zipfile. - Review the preview — Rephlo shows each provider, any name conflicts, and whether its secrets will decrypt on this machine.
- Choose conflict resolution (Skip / Replace / Duplicate) and click Import.
Cross-machine note: API keys are encrypted to the machine that created the export. On a different computer, decryption fails by design and the affected providers are imported with their keys cleared — you'll re-enter the key and re-test. On the same machine, secrets are restored intact. See the cross-machine section in Global Import & Export.
History Export
Execution history can be exported for record-keeping, analysis, or compliance.
Exporting History to CSV
- Open History.
- (Optional) Filter by date range, command, or provider.
- Click Export CSV in the toolbar.
- Choose a location and save.
CSV Contents
The exported CSV includes:
| Column | Description |
|---|---|
| Timestamp | When the command was executed |
| Command Name | Which command was used |
| Provider | AI provider (OpenAI, Anthropic, etc.) |
| Model | Specific model used |
| Input Text | The text that was processed |
| Output Text | The AI's response |
| Tokens In | Input token count |
| Tokens Out | Output token count |
| Status | Success, Error, or Cancelled |
History export is one-way. You can export history to CSV, but you cannot import history back into Rephlo. See History & Audit.
Common Use Cases
Back Up Before Reinstalling
- Export all commands to
commands-backup.json. - Export all spaces to
spaces-backup.zip. - Export providers to
providers-backup.zip. - Export history to
history-backup.csv. - Note your API keys separately (encrypted keys can't be decrypted on a fresh install).
- Store backups in cloud or external storage.
Share Commands with Teammates
- Export the commands you want to share as JSON.
- Send the file (email, chat, shared drive).
- Teammates import it, choosing Skip or Duplicate to protect their own commands.
Move to a New Computer
- On the old machine, export commands, spaces, and providers.
- Transfer the files.
- Install Rephlo on the new machine and import.
- Re-enter API keys (they don't move between machines).
Access Locations Summary
| Feature | Location |
|---|---|
| Command export/import | File menu, or the Commands view toolbar |
| Space export/import | Spaces view toolbar > Export/Import dropdown |
| Provider export/import | Provider Export/Import option in Settings > Providers |
| History export | History view > Export CSV button |
| Everything at once | Global Import & Export |
Best Practices
- Regular backups — export commands and spaces monthly, or before major changes.
- Descriptive filenames — e.g.
commands-2026-01-15.jsonfor easy identification. - Organize backups — keep a dedicated folder for Rephlo backups.
- Test imports — after importing, verify a few commands work as expected.
- Share responsibly — review commands before sharing so no sensitive content leaks.
- Keep keys in a password manager — they can't be recovered from a backup on a different machine.
Next Section: Move everything in one archive with Global Import & Export, or configure Rephlo in Settings.